
Tags
amerock pulls, brass kitchen, colorful, delta faucet, DIY, general finishes kitchen, kitchen, milk paint, subway tile
This is the INCREDIBLY condensed version of my kitchen renovation. You can read more about it in depth here, here, here, and here.
Meet my kitchen the day we moved in: white laminate cabinets from the 1970s (covered in brown and black grease… this picture was HEAVILY photoshopped), silver wire cabinet pulls, nice stainless steel appliances, and a honed black granite countertop (which I like a lot. It’s the cheaper version of my favorite countertop material, soapstone).
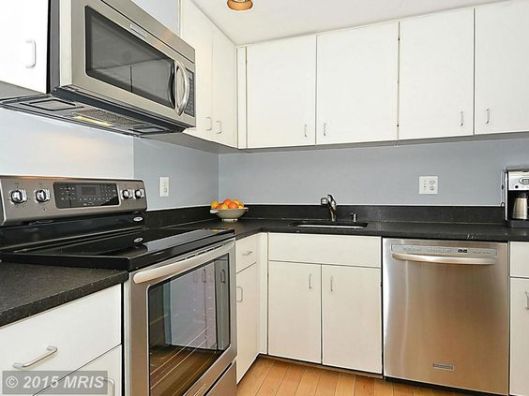
BEFORE VIEW
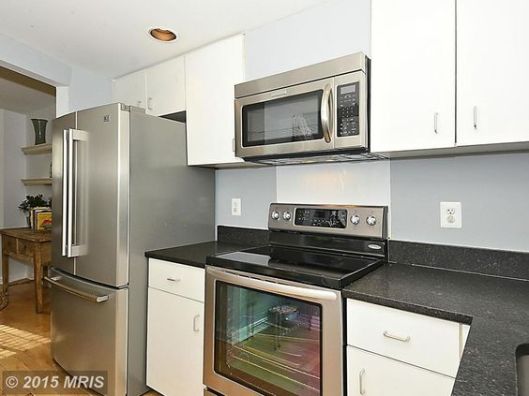
BEFORE VIEW
Progress 1
I think I went crazy after that fail, so I ripped the cabinet doors off, framed them out, and painted them. If you decide to do this, buy A LOT of wood filler. Every nook and cranny of the cabinets were covered in wood filler before priming with 1-2-3 Primer (best primer ever) and painted. 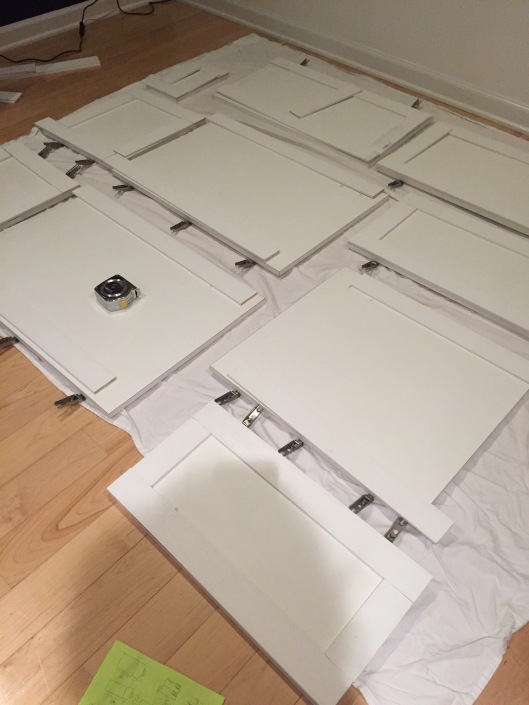
I was going to paint the cabinets with normal colors. I promise. I wanted a two-toned kitchen, and I had every intention of choosing calm, neutral colors. However, my Liberace-loving side of me spoke up while I was purchasing paint in the store. There was no one with me to shush it up, and I made a last minute decision to purchase…
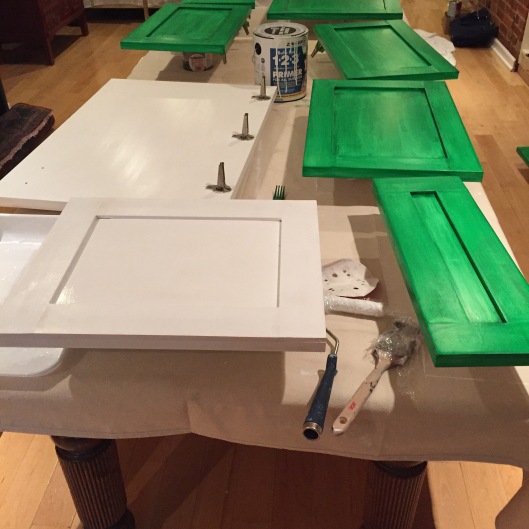
The BRIGHT Green Cabinets

Then, I remembered I have never decorated anything like a normal person. Exhibit A. After adding a bit of grey and blue paint to the emerald green, I ended up liking the hue a bit more.

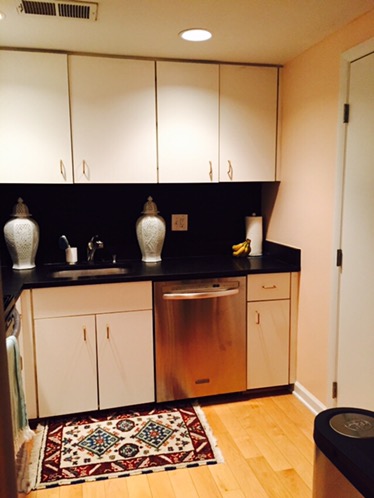
Here is what it looked like after I painted the kitchen bright white, rehung the doors, and installed a new faucet that I got for my birthday. MUCH BETTER!
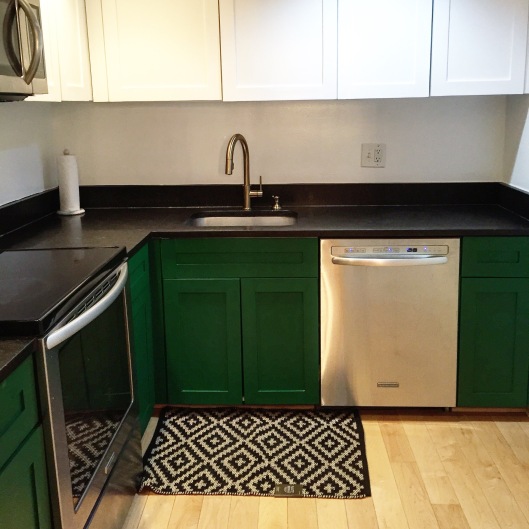
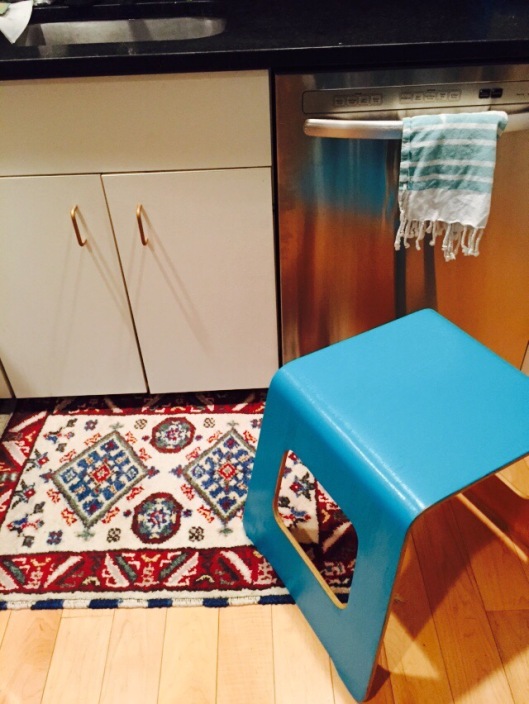
I ordered cabinet pulls on CLEARANCE from Amerock, but I had to wait for a month before they arrived. While I waited, I realized that the backsplash would look lovely with an inexpensive subway tile. I ripped out the mini granite backsplash and got to work. Here is the final result (not at all staged and taken with a low quality camera because I was too lazy to get out my nice camera). Oh, and I have ONE MORE outlet faceplate to install.

The door (to the right in the picture below) leads to a tiny closet that holds my washer, dryer, and a tiny pantry for my dry goods. It also has a wall of shelves that I built myself during the last big blizzard in DC. All of that trim and the door need painted, but I’m holding off since we might need to rip out all of our trim and flooring in the house. You can read about that drama here. 
Here’s the view of the kitchen looking out into my pink dining room. I clearly have an affinity for bright, happy colors. My Liberace-loving side of me picked out the gold chandelier in the dining room.

Eventually, I’d love to have this little wall (to the left) removed or perhaps turned into a half wall. The kitchen doesn’t receive a lot of natural sunlight with it in place. For now, it holds our mail organizer, which probably needs cleaned out right now.
Now, for the most important part: THE BUDGET
2.5″ Lattice Trim (to trim out the laminate cabinets): $82
Zinnser’s 1-2-3 Primer: Already Owned
General Finishes Milk Paint (Snow White & Emerald Green): $36
Amerock Cabinet Pulls in Champagne Bronze (2-1.25″, 15- 3.125″): $39.14
Grout in Oyster Gray: $15
Sanded Caulk in Oyster Gray (2 containers): $16
Behr White Paint: already owned
All tiling tools (tile cutter, spacers, float, etc) were borrowed from a friend for FREE
TOTAL PRICE: $247.14
*The Delta faucet and soap dispenser were birthday gifts. My husband got the faucet used on Amazon to save some money, but the total cost was $308.67 (more than the rest of the kitchen makeover).
TOTAL PRICE (including the faucet and soap dispenser): $555.81
Here’s the before and after ONE MORE TIME, so you can see how far that money went.
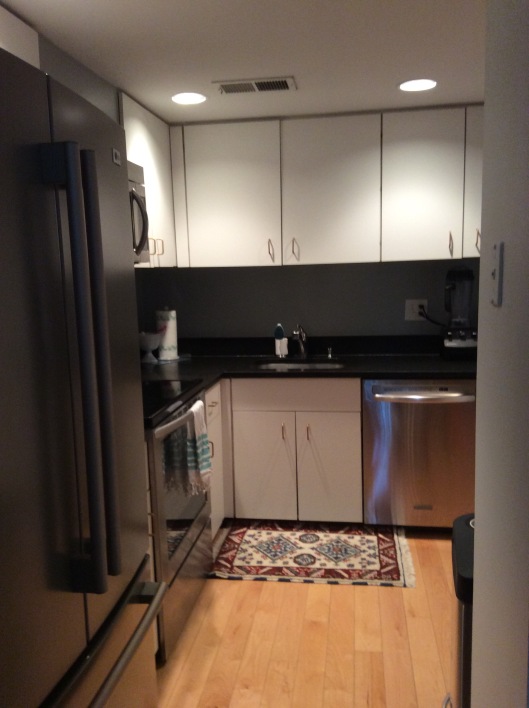
KITCHEN BEFORE (without photoshopping to make it look bright and spacious)

KITCHEN AFTER

Do it, buffalo print please!! I adore your style! Was the granite damaged at all when removing the back splash portion?
LikeLike
If it doesn’t end up in the kitchen, it will probably end up somewhere! Thank you so much. The granite was not damaged, but we did have to scrape it with a razor blade to get the adhesive off.
LikeLike
Yay. You rock. I look forward to the rest of your DIYs!
LikeLike
Thank you! I wish I had your construction expertise on all of my grandiose ideas!
LikeLike
I love the green! 🙂
LikeLike
Thank you!
LikeLike
Great update on cabinets and I love your choice of colors, specially the green!
LikeLiked by 1 person
Thank you so much! It’s definitely a bright color!!
LikeLike
Thank you!
LikeLike
When you say you had laminate cabinets are those the type that are made of compressed wood then covered with a plastic like material. That’s what I have and am wondering if I could paint them to make them look better to sell house instead of replacing them ( mine are wood grain). Did you spray them or brush them? Thanks for all the help and I loved your colors. GREAT JOB
LikeLike
I assume mine are compressed wood under the laminate top. I rolled the paint on, but I purposely chose a self-leveling paint to avoid roller marks. I live downtown in a big city, so no space to spray. If I had a garage though, I would’ve gone that route. Thank you!
LikeLike
Pingback: IKEA FULLEN Sink Cabinet Hack | district of decor
You said you replaced the hinges but didn’t list them in the total. You did list the handles though. The hinges weren’t visible but I’d like to know more since we’re having a kitchen face-lift here. Thanks…
LikeLike
We didn’t replace the hinges. They’re hidden inside the doors so they didn’t need to be updated. I must have meant that we placed the doors back on the hinges. Good luck on your kitchen face-lift! It’s worth the hard work to have a space that is enjoyable to cook in!
LikeLike