
Tags
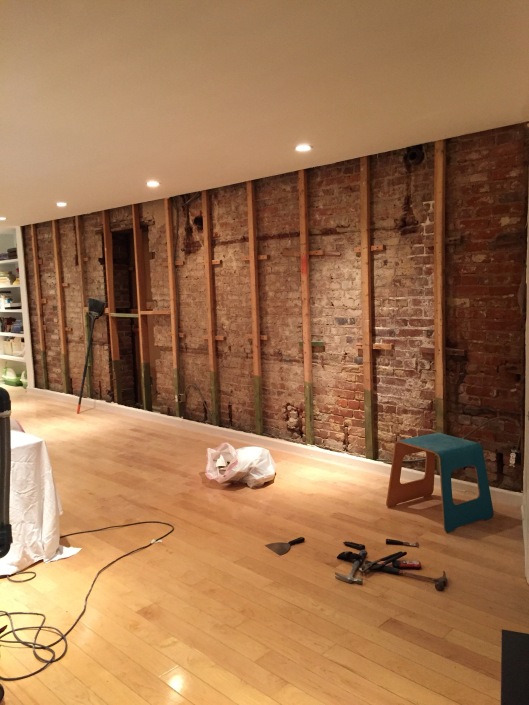
In my last post, I mentioned that we exposed our brick wall. I didn’t mention exactly how filthy the brick was. The wall was covered in bits of plaster and a lot of dust and salt (due to efflorescence). We were able to chip away the plaster with household items, but I wanted to clean the brick in the most effective manner.
I turned to google and read hundreds of pieces of advice. What I kept discovering was that there were a plethora of options (brushing, water, soap, acid), but many people simply used wire brushes to clean their interior brick. I immediately went to my local hardware store and purchased three wire brushes, seen below.


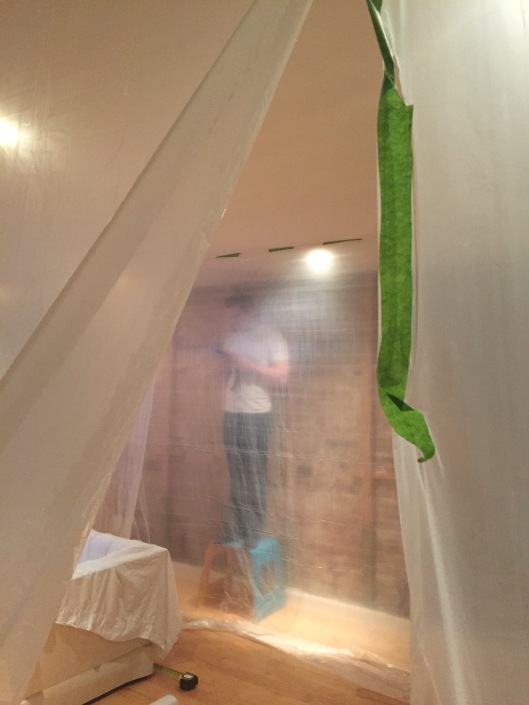
Our favorite brush for all purposes (cleaning bricks AND mortar, removing small pieces of plaster, etc.) was the 3″x19″ row wire brush. We spent 4-5 hours dry brushing our brick wall. We had to seal up the entire area, since brushing created A LOT of dust.
Unfortunately, the wall still looked rather dirty after dry brushing. Also, I’m pretty sure my right arm and shoulder will permanently be sore from the amount of scrubbing it required!

After dry brushing
The next method we attempted was wet brushing the wall with just water and the brushes. (If this wall was outside, I would have power washed it and been done.) It created a lot of run off water (BIG MESS), but it was somewhat effective in cleaning the brick. It also created less dust, since the water trapped the dirt. It took us another 3-4 hours, and the wall was still incredibly dirty afterwards. Below, the wet parts LOOKS clean, but it kept drying to a hazy dirty finish that produced more dust.

After wet brushing
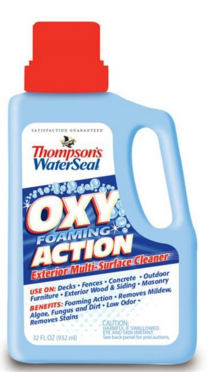
Storm Jonas came, and we had some extra time at home to continue cleaning the brick. Our local hardware store had Thompson’s WaterSeal Oxy Foaming Action cleaner for masonry. We tried both painting it on the wall and spraying it on the wall. Honestly, it did absolutely nothing. The water method worked equally as well as this cleaner. However, it was another 2-3 hours of work due to the intense scrubbing required. We also bought a wire brush drill attachment to further clean the brick… WASTE OF MONEY. It was too abrasive for our soft brick and actually marred the surface.
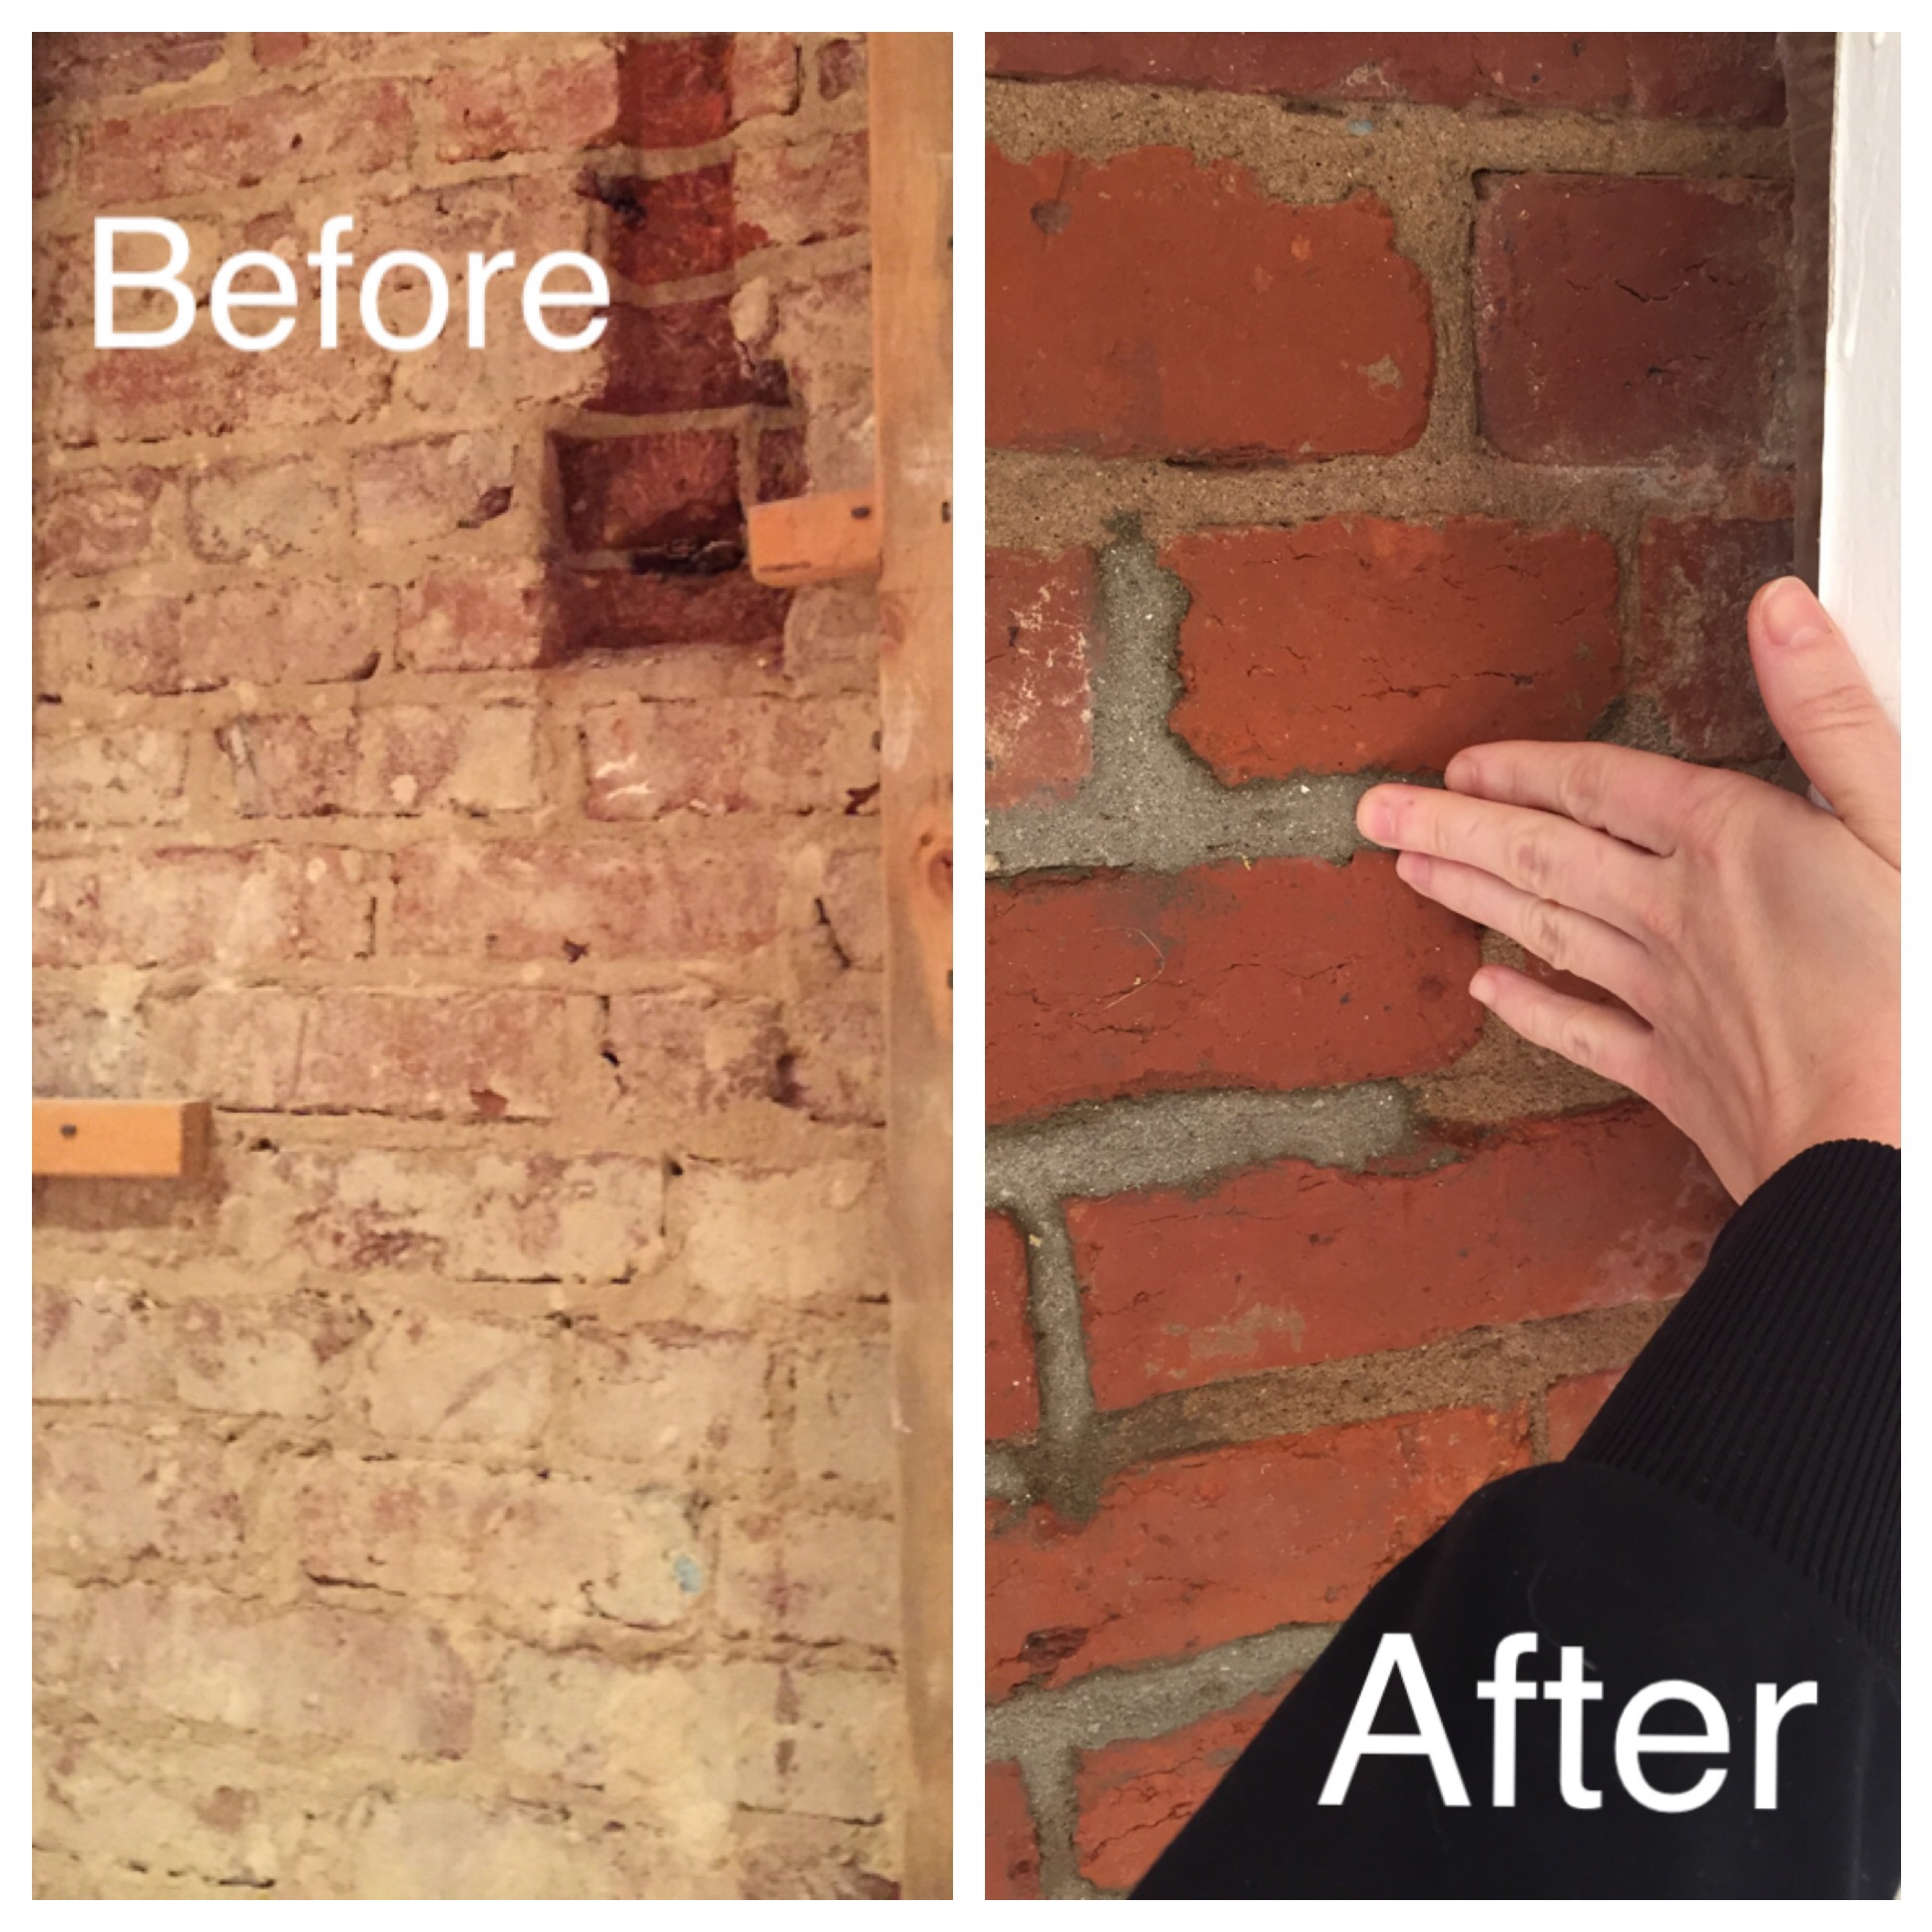
Finally, our mason told us to use Muriatic Acid. I had read about acid in my initial research, and I had read how absolutely unnecessary it was. I’m here to say… it was BY FAR the MOST EFFECTIVE for us. I highly recommend eye protection, thick rubber gloves, a bucket, and an acid brush for application.

We diluted the acid with water, one part acid to ten parts water. After painting it on the brick with a brush, it immediately began reacting with the dust and foaming. We scraped the bricks immediately to remove any dropped mortar, but the dirt, plaster, and salt was completely dissolved by the acid. Some tough spots required a few passes of acid. Afterwards, we rinsed it with water, and we were DONE! In only 2 hours, our wall was perfectly clean and ready to be sealed (more on that later). Just a note, the acid smells like rotten eggs, which means our home smelled like rotten eggs for a couple days.

After the acid wash
Here’s one more comparison because WOW! I wish I hadn’t been so scared of the acid from the start. It was simple, minimal elbow grease, and so fast!

I’m so glad you did this! We are exposing a brick pillar in our kitchen and I’ve done more research than I care to ever do again.
LikeLike
Hopefully, your project goes much smoother than ours!!!
LikeLike
Darn it Ariel, I want to read an update on the progress of the brick wall. I’ve been anxiously awaiting the post.
LikeLike
It has been too traumatic to talk about so soon! 🙂
LikeLike
I just ripped down my wall to expose my brick. Im at the stage of cleaning it. Once you applied the acid cleaning solution, did you wash it with water right away? Can you give me more details about the acid application process?
LikeLiked by 1 person
I apologize for seeing this comment so late! We applied the acid with an acid brush and then washed it off with water.
LikeLiked by 1 person
Pingback: Living with Exposed Brick (Things to Consider Before Exposing Your Brick) | district of decor