Our tiny city condo has been a work in progress since we moved in. We’ve been updating it at a faster rate lately (although not necessarily blogging about it) since we just added a new member to our little family. When I was 39 weeks pregnant and in a SERIOUS nesting craze, I demanded that we go to Ikea immediately because I NEEDED built-ins in our living room. Specifically, I NEEDED them for this odd empty space near our sofa that is never really used. I pictured it one day being our daughter’s play area, and she clearly needed storage for toys… and she needed me to get the area set up and ready IMMEDIATELY.

My husband was smart enough to know to just go with the flow at this point, and he obliged. I had a few ideas in my head after finding some fabulous inspiration online. Years ago, I had seen this Ikea hack on madebygirl to make this fabulous credenza.

I loved everything about it, except the price (and that the Akurum cabinet components are no longer available at Ikea). I decided to research a few options before going to Ikea, specifically the new Sektion cabinets ($$$$), the Bestå series ($$$), the Eket cabinet ($$), and the best deal of all, the Fullen cabinet ($). My frugal nature won, and I decided to use the Fullen cabinets since they cost only $9.99 per unit. They are generally used as sink cabinets, which means they are also easy to anchor to the wall (a necessity for child safety). The other options would have cost us anywhere from $200-$1200 (!!!) to create a similar look.

My original plan was to purchase either Birch Plywood or 2 pieces of common board (running side by side) for a budget-friendly countertop. I LOVE the look of this plywood tabletop from homemade-modern.com. I also love the price and availability of plywood. Remember, I was 39 weeks pregnant and NEEDED this project done immediately. 🙂

There was one drawback for the Fullen cabinets: they didn’t come in the right length we needed for the wall. Our wall is 91″ long, and I was hoping to capitalize on the full length. The Fullen cabinet is 23 5/8″ wide, so 3 of them would only be about 71″ long, while 4 cabinets would be too long at 94.5″ long. I decided to just deal with the smaller size and purchased 3 of them. These cabinets are SO easy to put together! My 39 week pregnant self was able to do a lot of the building.


Ready for the best part? The cream on top? The cherry with cream on top? Before we leave Ikea, I always stop by the “as-is” room to see if I can score any good deals. My husband and I were looking through their cabinet scraps when I pulled out a long, shiny, white “board.” And GUESS WHAT THE DIMENSIONS WERE…. 15″ (the width we needed for our cabinets) by 90″ (the length we needed for our wall). It was fate. It was also marked down to only $4.90. SOLD. When I got home I googled the “board” to discover that it is actually a cover panel for kitchen cabinets, and it’s normally $74.
Remember how I mentioned that my wall was 91″, the 3 cabinets would only total to 71″, and the board was 90″? Obviously, the dimensions were a tad off. We considered cutting the board down to size, but we were unsure how it would look. I decided to create a 19″ space between two of the cabinets as a work area. It’s just the right size for a small chair.

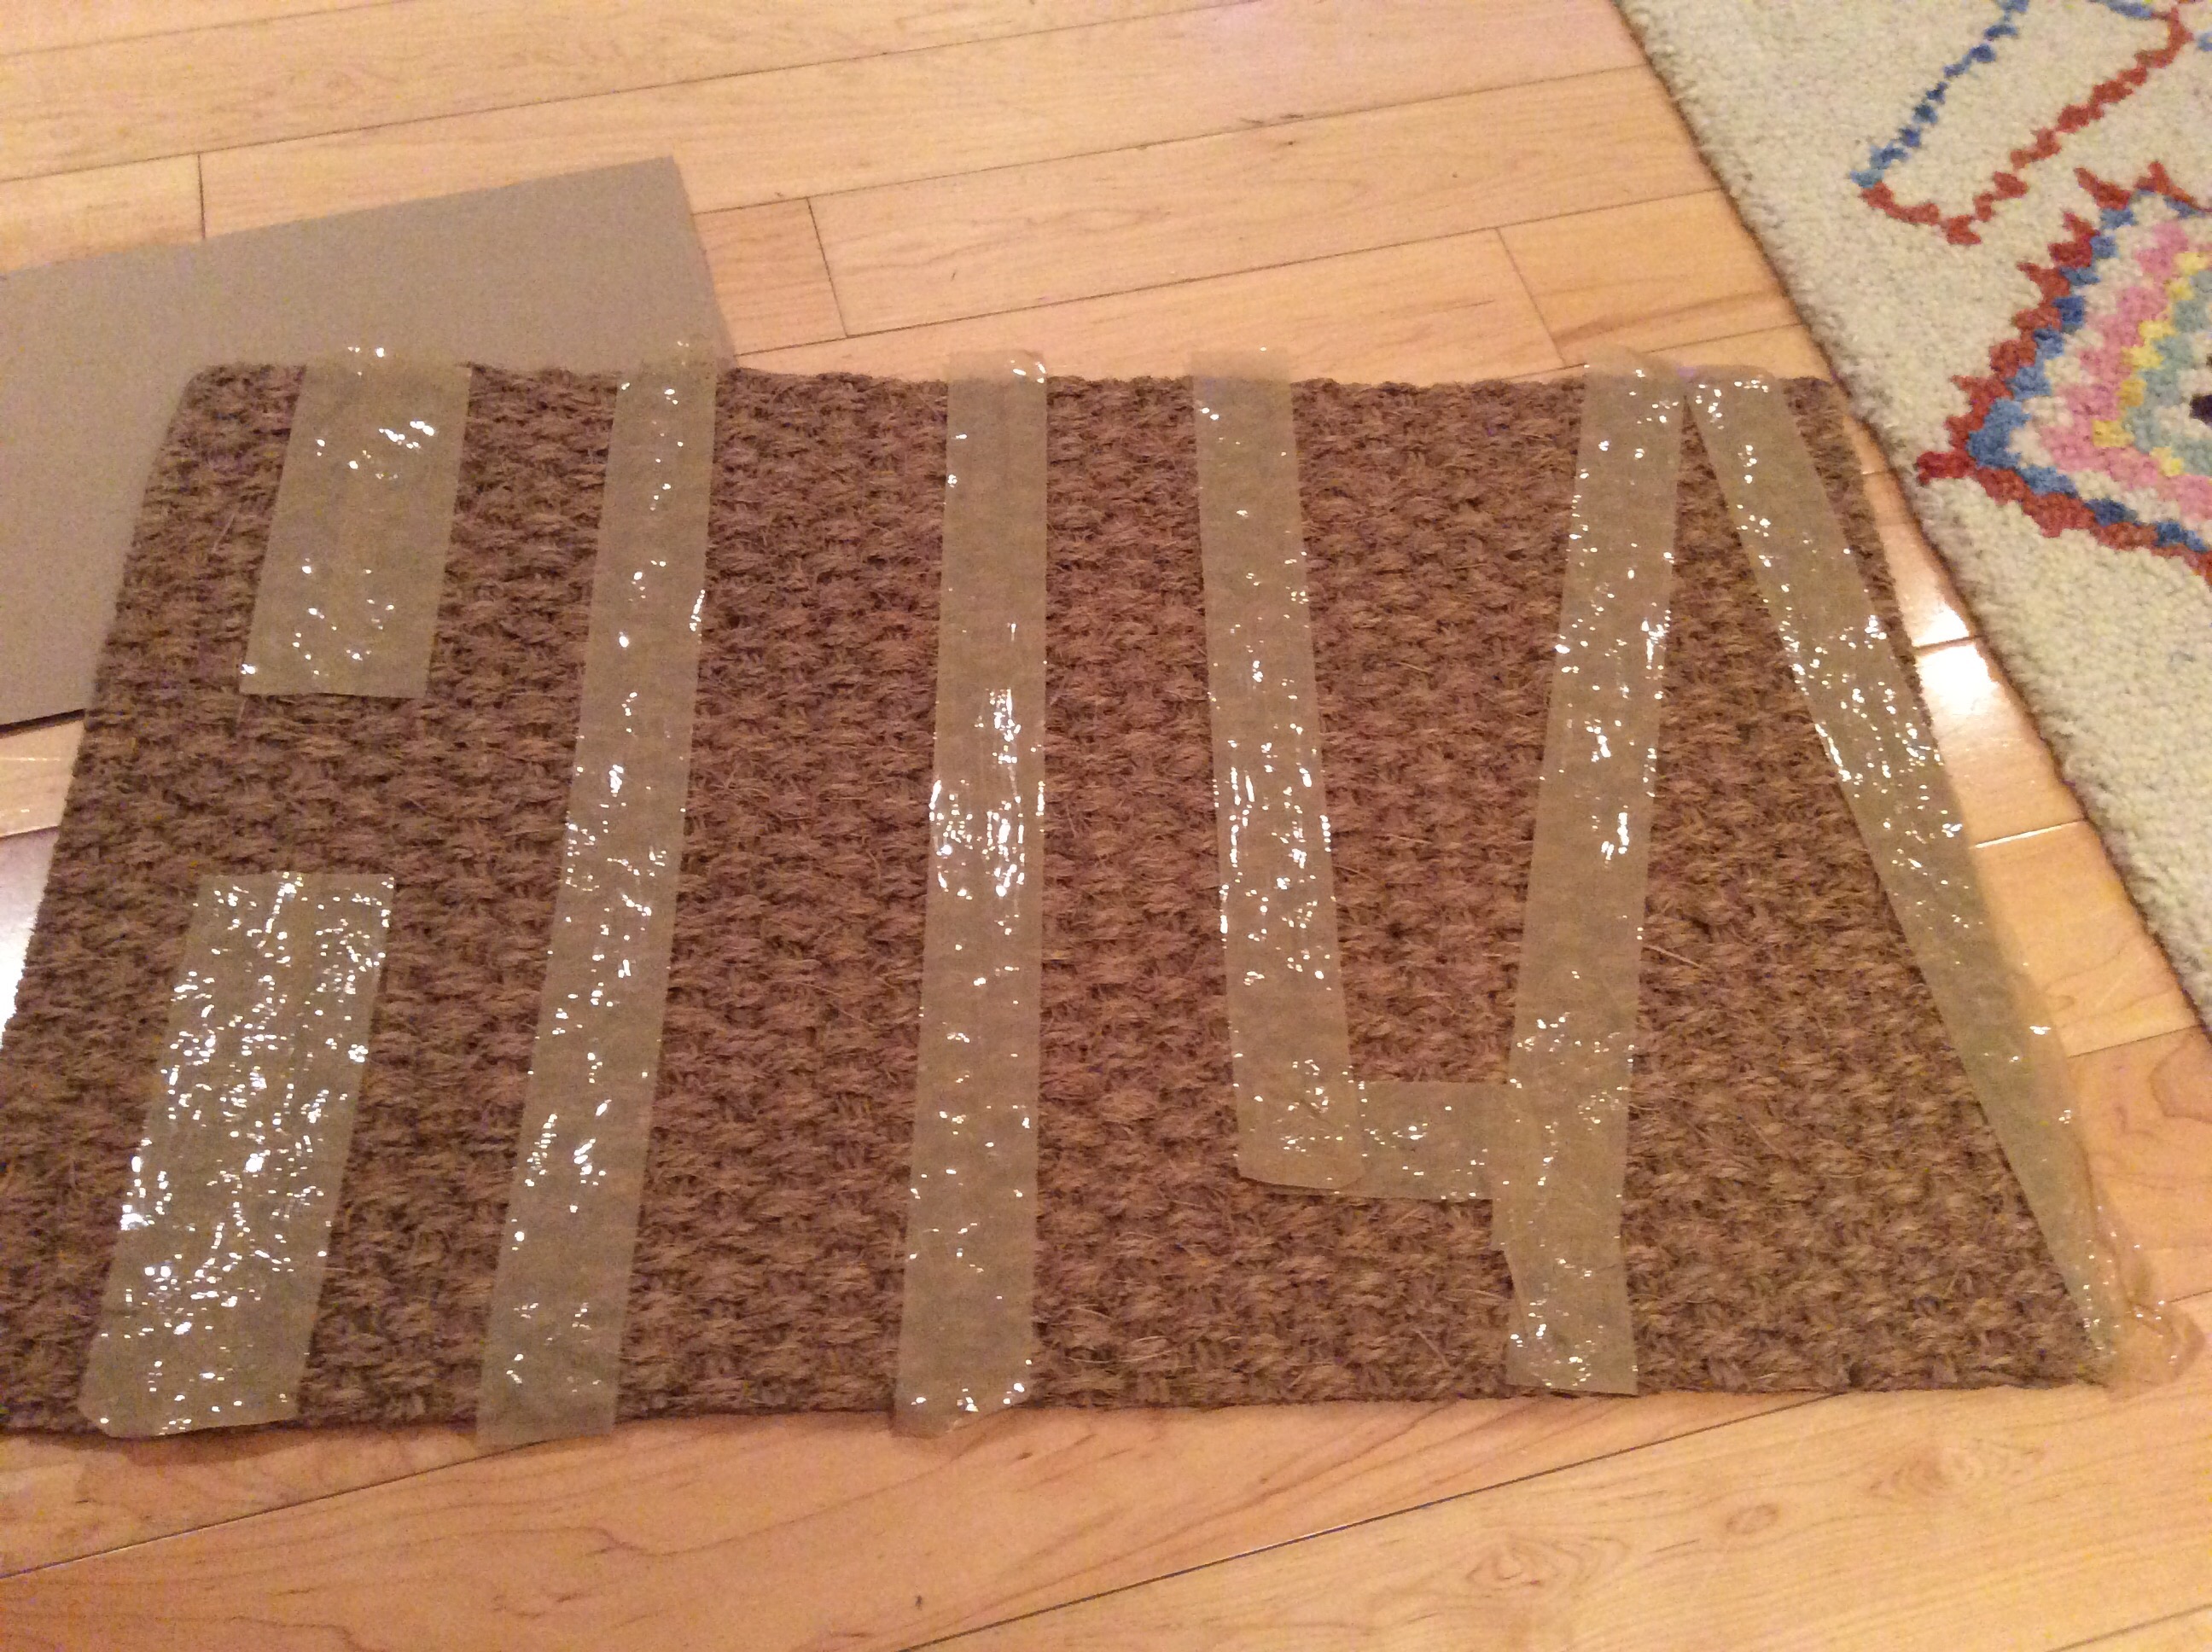
Once it was all put together, I decided that I didn’t love the grey, plastic legs or the cheap, plastic knobs that came with it. I purchased these legs and these knobs to make it feel a bit more expensive. The legs are actually meant for chairs and sofas, so I had to purchase bolts to keep them in place.

I absolutely love how it has turned out. It has given us so much more storage. I wasn’t sure if we’d actually use a “work space,” but my husband and I both prefer sitting at this little desk to concentrate for work. At this time, we’ve decided not to attach the top to the cabinets. Eventually, we’ll attach it with construction adhesive, but since our little one is so tiny we didn’t feel the need.
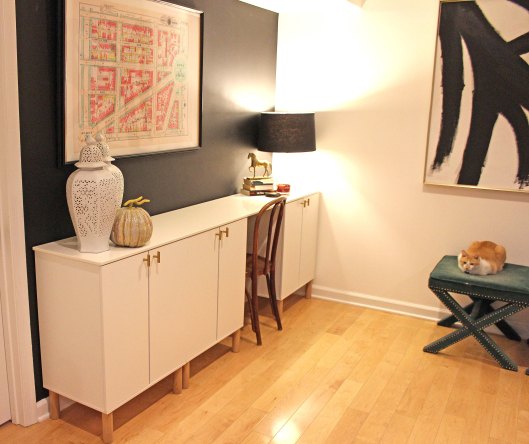
Now, we’re considering what to do with the space above the “built-ins.” We could add some art to the right of our Washington D.C. map print for balance, or we could build a wall of shelving above them. We definitely need to do something with our plain, hollow-core doors, although that’s really just an aside. I can’t help but look around and come up with new projects. It’s my husband’s favorite thing about me. 🙂

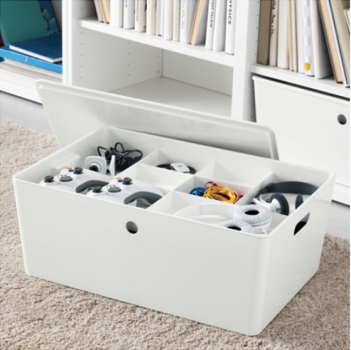
I’m one of those weird people that take great pleasure in organizing my home. If you also love organization, this next part is for you. Specifically, look at the bottom shelf.
You guys, Ikea makes a great organizing box (Kuggis) that fits PERFECTLY into this cabinet. It holds SO MUCH. I bought both the box and the organizing insert. I actually emptied my ENTIRE buffet cabinet into that box (granted, my buffet cabinet was mainly holding office supplies). Here’s another picture of the Kuggis box because organization is everything.
“Built-in” Budget
- 3 Fullen Cabinets =$30
- “As-is” Förbättra cover panel= $5
- 3 Packages Landskroma Chair Legs= $30
- Gold Knobs= $13
- TOTAL: $78
Overall, these “built-ins” could have been accomplished for a grand total of $35 (had I not wanted to upgrade the legs and knobs). Adding your own wood top to it might increase the price by $16, if you choose one of my bargain options from above. I’m really happy with the end result for our home and needs. It’s given us storage AND a work space that we didn’t even realize we wanted!